How to Finish Concrete: Steps, Techniques and Tips
Togal.AI
|
Ever wondered how the best concrete workers achieve perfectly level, smooth, and crack-free concrete surfaces? Concrete finishes are known for their durability, beauty, and versatility. But to achieve a picture-perfect concrete surface, it requires proper timing and training. A concrete worker who is unfamiliar with the finishing process can produce unattractive slabs and cause costly back jobs. Keep reading to learn how to do it properly, and avoid making common concrete finishing mistakes.
Related: If you haven’t seen our ultimate guide on concrete finishes, click here.
Concrete Finishing Checklist
When working with concrete, it’s crucial to work with speed in mind because the curing process begins once the concrete has been poured in. Good finishing techniques will make a slab look great, but proper preparations will go a long way in preserving the concrete’s deterioration over a lifetime. Save yourself from the trouble of having to do your work all over again by going through this concrete finishing checklist.
Pre-Pour Quality Inspection
- Inspect the slab formwork thoroughly. Make sure that your forms are following plan specifications by checking if it’s been properly installed and braced. When forms are not braced properly, fresh concrete cannot be supported by the formwork system, resulting in formwork failure, bulging, and/or misalignment.
- Conduct a pre-pour meeting to discuss concrete pour specifications with the field superintendents, foreman, and cement masons to ensure everyone is on the same page. Create a checklist and discuss items such as required equipment, labor needs, reinforcing steel inspections, water quality, measuring jar for the pour, and location of construction joints.
Finishing Tools
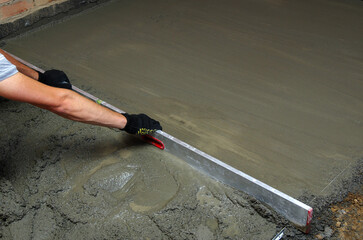
- Screed - This is a straight-edge tool used to level the surface of freshly poured concrete.
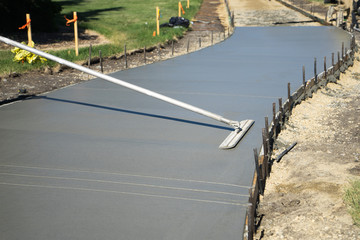
- Bull Float - This tool pushes down and smoothens fresh concrete while bringing the cream, or paste, to the surface. This assists in curing the concrete by encouraging moisture to rise.
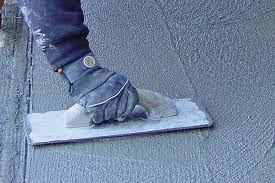
- Hand Float - A hand float is the smaller cousin of the bull float. A hand float is designed to quickly remove the concrete’s coarseness where a more deft touch is required.
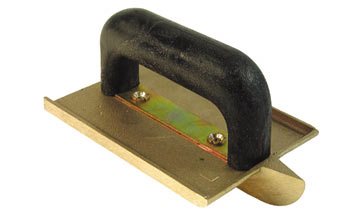
- Concrete Edger - This tool features a wide and flat blade that forms a round curve at its edge, which helps to prevent slabs from chipping.
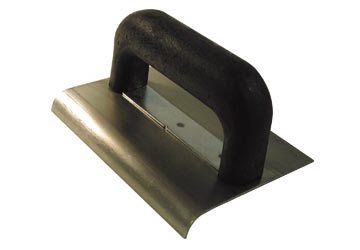
- Concrete Groover - Groovers are used for cutting contraction or introducing control joints into fresh concrete. Grooves help contain and minimize the area where cracks may damage.
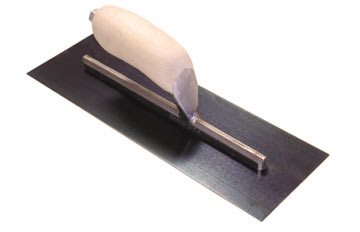
- Steel Trowel - A trowel resembles a hand float but steel trowels are used only after the surface has been floated resulting in a precise and smooth concrete finish that meets professional standards.
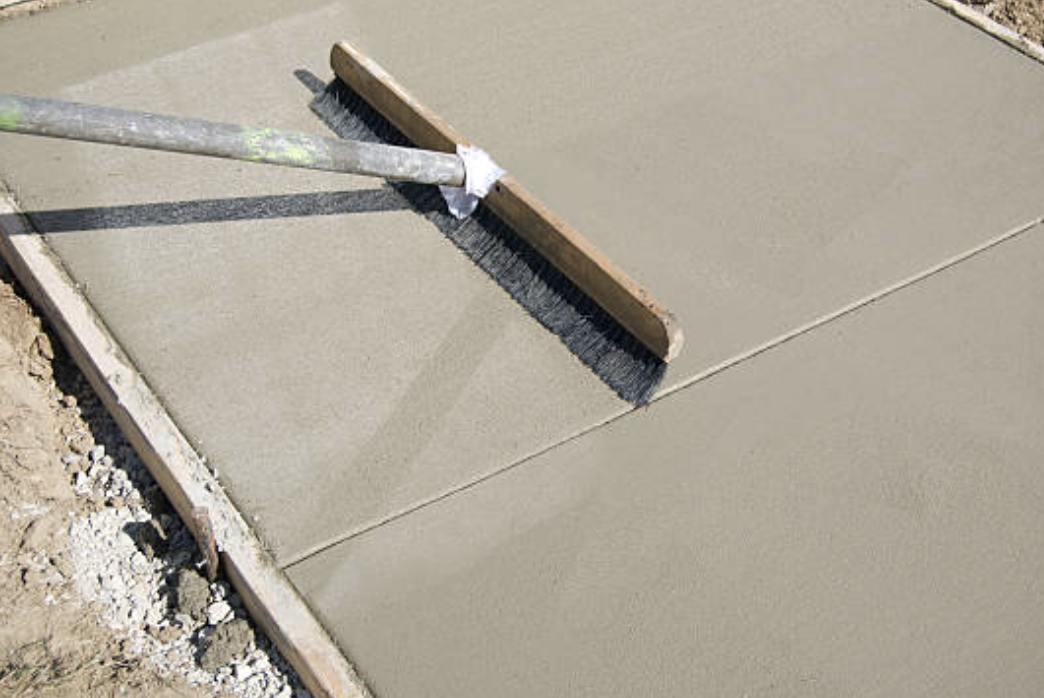
- Concrete Broom - Concrete brooms help create ridges on the concrete’s surface. The texture it produces helps increase traction and is especially useful for outdoor areas that may be exposed to the elements.
How To Finish Concrete: Step-By-Step
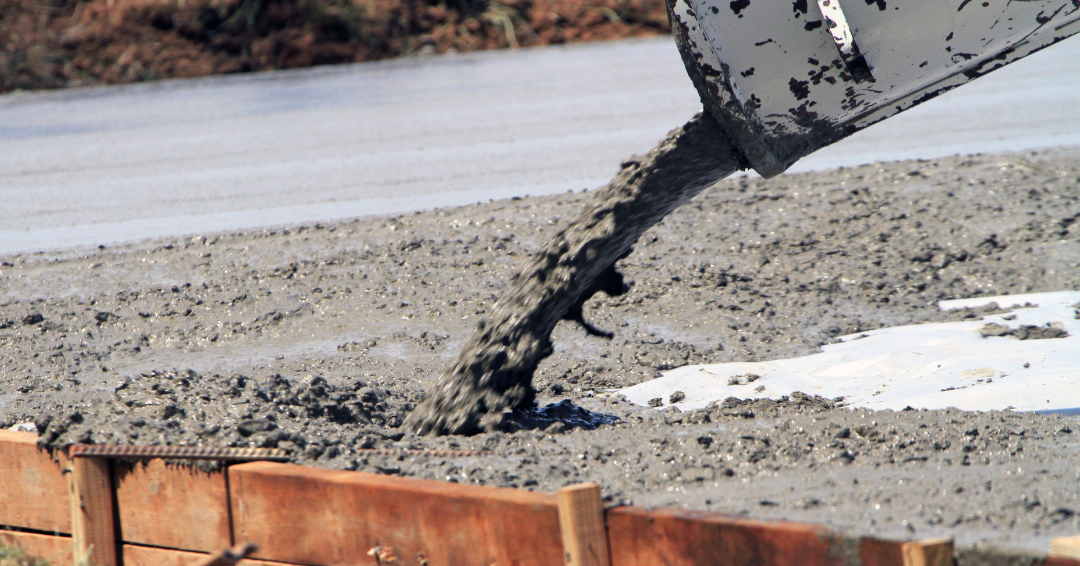
Step 1 - Pour the Concrete
Once pouring has begun, use a shovel or concrete come-along rake to spread the concrete along the entire slab formwork to fill the space.
Step 2 - Strike Off the Concrete
Screeding involves dragging a flat edge over wet concrete to level it and bringing it up to a specified grade. To use a screed properly, start at one end of the freshly poured concrete and work your way toward the other end progressing slowly using a sawing and scraping motion. This back-and-forth movement pushes excess concrete further into the gaps and hollows. Make sure you avoid letting it sink into the fresh concrete to prevent large voids from being created.
Effectively screeding your concrete will level it out, resulting in an even surface. This should be done quickly because there is a small window of time before bleed water rises to the surface.
Step 3- Float the Concrete
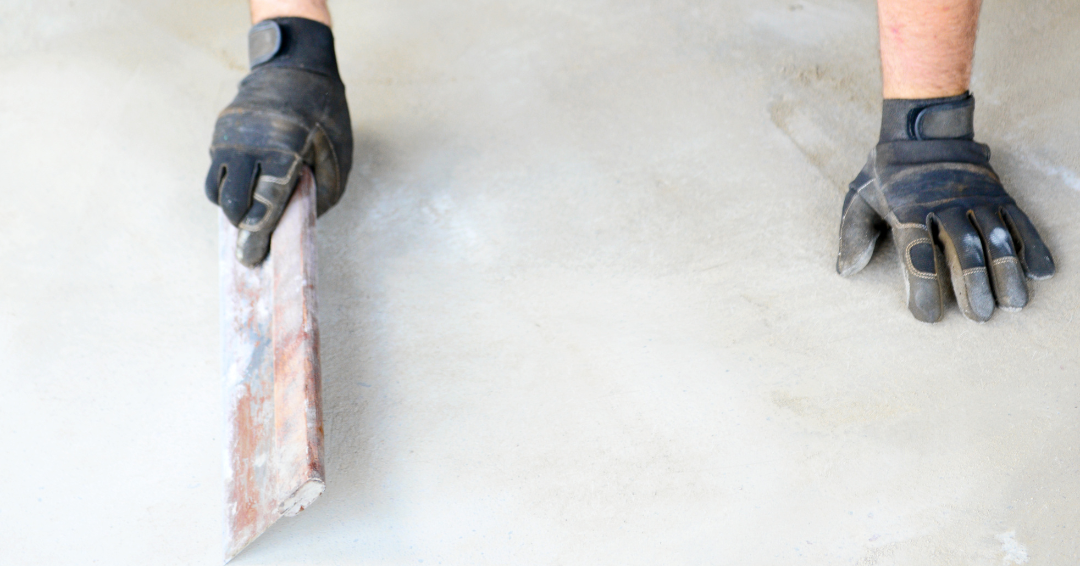
Sweep the darby or float across the concrete in overlapping arcs to flatten the surface, push down lumps and fill voids. It may be tempting to excessively float the concrete but doing so prevents bleed water from rising to the surface. It’s important for this bleed water to evaporate because this is excess water that is pushed up once the heavier aggregates settle at the bottom of the slab. Excess water weakens concrete slabs and increases the odds of cracking. Just a couple of passes would be ideal.

Step 4 - Trim the Edges
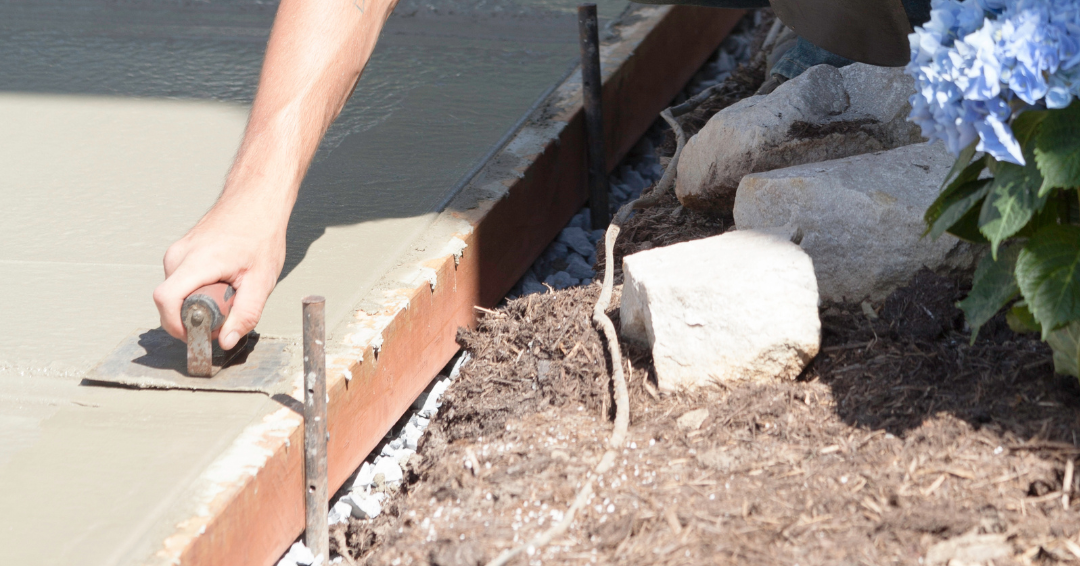
Trimming the edges of a concrete slab produces crisp edges that improve its overall appearance. Aside from that, the edge tool also creates a makeshift seal that acts like a permanent concrete formwork around the entire slab. Run the tool along the perimeter of your slab in long, sweeping strokes until the edges are smooth, solid, and straight. Use the hand float to smooth over the marks made by the edger.
Step 5 - Create Control Joints
As the concrete cures, there is a reduction in volume or shrinkage that could cause cracking. Jointing is required to eliminate unsightly random cracks; these should cut at least 25% of the way through the concrete's depth. Contraction joints or expansion joints are made with a groover or by inserting strips of plastic, wood, metal, or preformed joint material.

Step 6 - Apply a Trowelled, Broom, or Stamped Finish
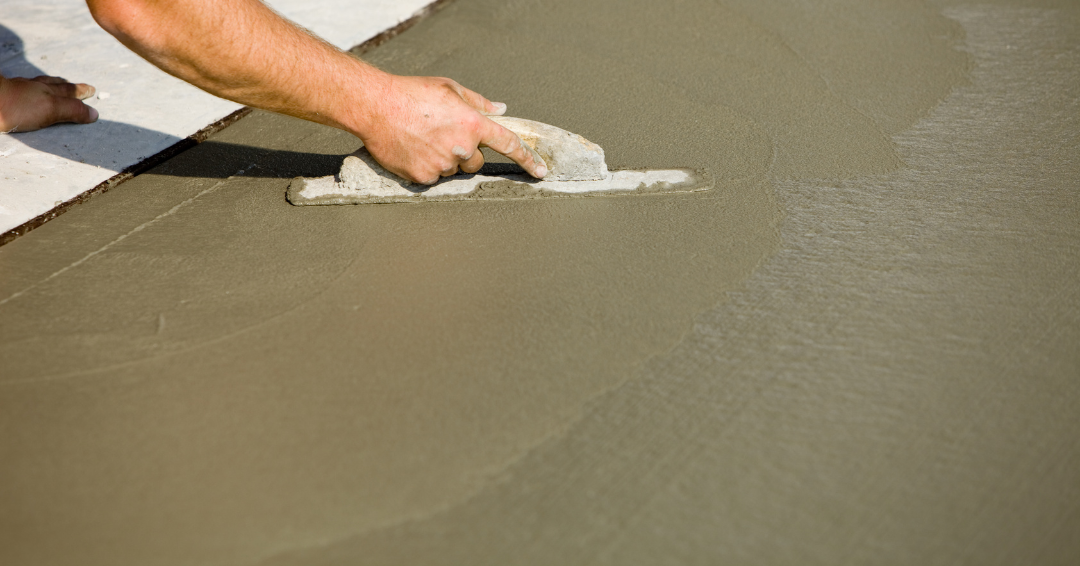
At this point, if a smooth finish is desired and advantageous then consider a trowelled finish. A steel trowel should only be used to smooth the surface after it's partially hardened. To achieve a smooth finish, hold the trowel almost flat and then swing the trowel in large overlapping arcs while applying pressure.
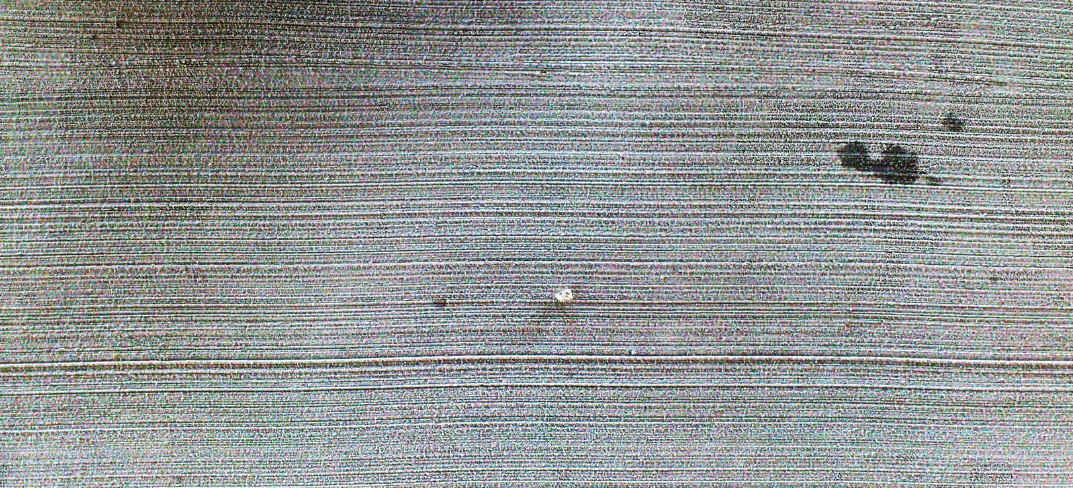
On the other hand, if the concrete is outdoor and traction is a priority, then consider a broom finish. Broom finishes create small ridges that prevent slips and falls.
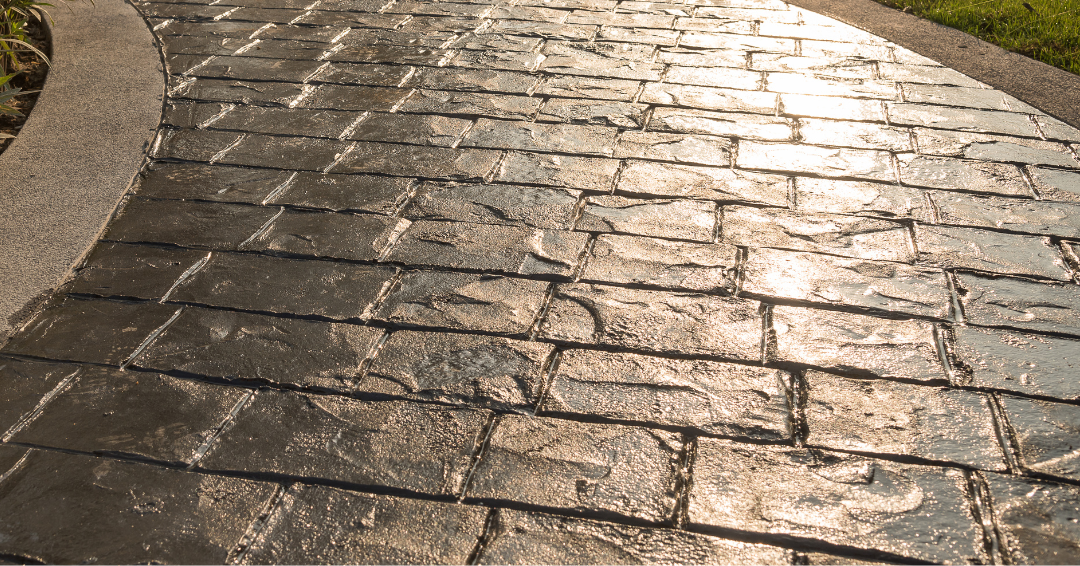
If a more decorative and textured look is desired then concrete stamps. Use this once the concrete feels slightly dry to the touch without any sand clinging to your fingers when you run it across the surface.
Step 7 - Cure the Concrete
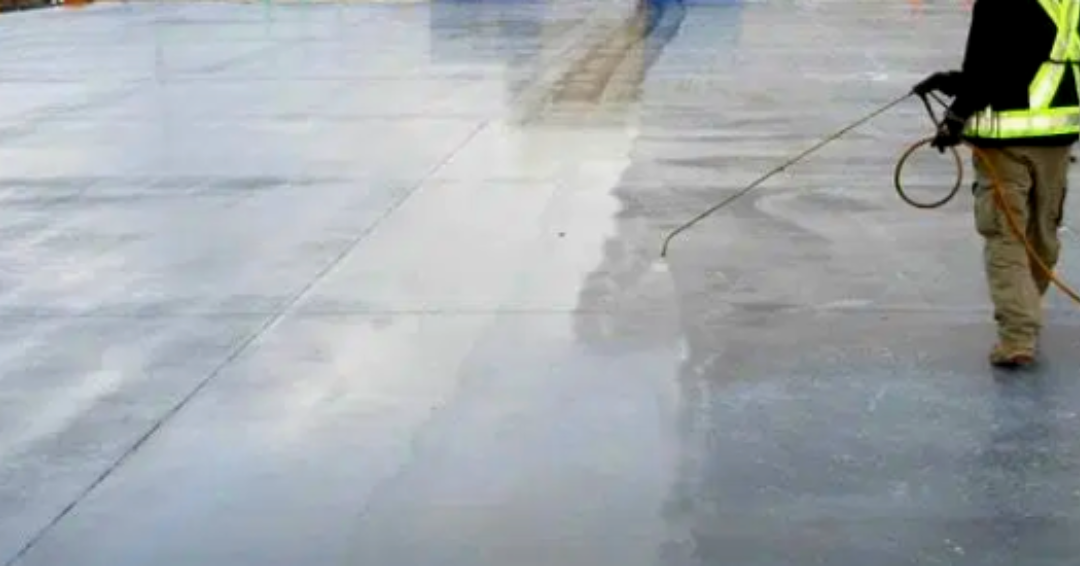
During curing, concrete develops its strength and durability. Curing involves the maintenance of the desired moisture level and temperature conditions. After finishing concrete, it's considered best practice to constantly hose the concrete with water to keep it moist. Moist-cured concrete can be up to 50 percent stronger compared to dry-cured concrete. Concrete can also be sealed after it has cured for at least a month to prevent liquid damage and make it easier to clean. Concrete takes an average of 7 days to cure before reaching approximately 70% of its compressive strength.
Concrete Finishing Best Practices
Take note of these best practices to help you produce better-quality concrete slabs that achieve a high standard.
- Adding controlled moisture to your slab extends curing time but results in a harder slab with a lower chance of cracking.
- Don’t finish concrete that still has bleed water on the surface. It is crucial to allow the bleed water to evaporate on its own. Working it into the concrete will weaken the surface, resulting in unsightly cracks as water and air try to escape.
- If you make a mistake when applying a broom finish, do not broom over the area again. Attempts to correct the concrete will still show the mistake because it is now fairly firm. Use a float to reintroduce some fresh paste back to the surface and then try again.
- We recommend using professional construction-grade screeds but if you are in a pinch, and intend to use a wooden screed make sure to run a planer along its surface to flatten it. Most 2×4 pieces of lumber sold are never truly straight. They may be slightly warped, or they may have an edge that’s beveled off.
- Avoid troweling too deep as this can release the concrete's air bubbles and prevent it from curing properly.
- There’s a lot of confusion regarding the spacing of expansion joints. As a rule of thumb, these joints should be placed no further than 24-times the width of the slab. A 1-inch slab, for example, would require control joints every 24 inches apart on its surface.
- Use a square-edged shovel as opposed to a rounded one because rounded shovels do not evenly spread freshly poured cement resulting in uneven distribution across the formwork.
Wrapping Up
Finishing a concrete surface takes skill and experience but if you follow the outlined steps and apply the recommended tips, the learning curve should be a lot smaller and help you get up to speed with your concrete finishing skills.
Are you a general contractor struggling with fulfilling accurate and timely bids? Our AI estimating software helps general contractors speed up the estimating process through automated takeoffs. Togal.AI was designed to help maximize your estimating productivity. It works by leveraging deep machine learning to analyze drawings so that takeoffs are completed in minutes saving general contractors valuable time and resources when they bid on jobs.
To learn how Togal.AI seamlessly integrates into your bid workflow, schedule a custom demo today.
